
Updating VLAN settings on VVX Polycom (410)
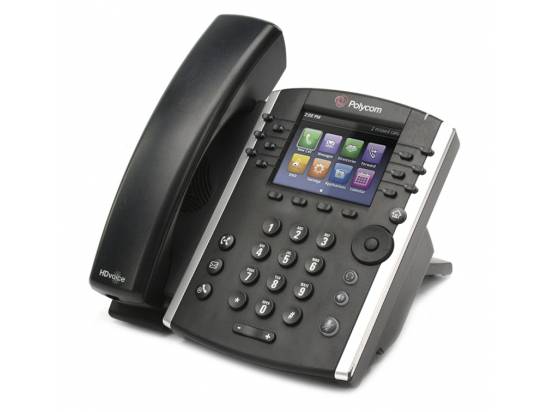
Step-by-Step Instructions
1. Access the Admin Menu
- Press the Home button
- Navigate to: Settings → Advanced
- Enter the admin password (default is 456)
2. Navigate to Network Settings
Go to: Admin Settings → Network Configuration (→ Ethernet Menu)
3. Enable VLAN Tagging
- Select VLAN Menu
- Set the following:
- VLAN Enabled → Yes
- VLAN ID → Enter your VLAN (example: 20)
- PC Port VLAN ID → Optional
4. Save and Reboot
- Press Back
- Select Save Config
- Confirm reboot
Note: The phone must reboot for VLAN changes to take effect.
Example VLAN Setup Diagram
        [Switch]
           |
    -----------------
    | VLAN 20 (Voice)
    | VLAN 10 (Data)
    -----------------
           |
        [Phone]
         /   \
        /     \
   [PC Port]  (Tagged VLAN 20)
       |
   [Computer]
 (Untagged VLAN 10)
How It Works
- The phone tags traffic with VLAN 20
- The switch identifies it as voice traffic
- The connected PC uses the untagged data VLAN
VLAN Settings Explained
| Setting | Description |
|---|---|
| VLAN Enabled | Turns VLAN tagging on or off |
| VLAN ID | Main voice VLAN ID |
| PC Port VLAN ID | Optional VLAN for the passthrough port |
Common Pitfalls
- Incorrect VLAN ID can prevent phone registration
- Switch port may not be configured for voice VLAN
- No DHCP available on the VLAN
- Forgetting to reboot after changes
Validation Steps
- Check IP: Menu → Status → Network → TCP/IP Parameters
- Ensure IP matches expected VLAN subnet
- Confirm phone registers to the system